How to Prepare a FAI Report That Passes Every Audit
Getting an FAI report right the first time can be hard. Many of us know how tricky it is to meet every requirement. First article inspections must follow strict standards like AS9102 and ISO9001.
Our guide carefully explains each step, from making ballooned drawings to checking parts with calibrated tools such as CMMs and calipers. We want your reports to pass any audit with ease.
With a little help, your next FAI report can show clear accuracy and full conformity.
Key Components of a FAI Report
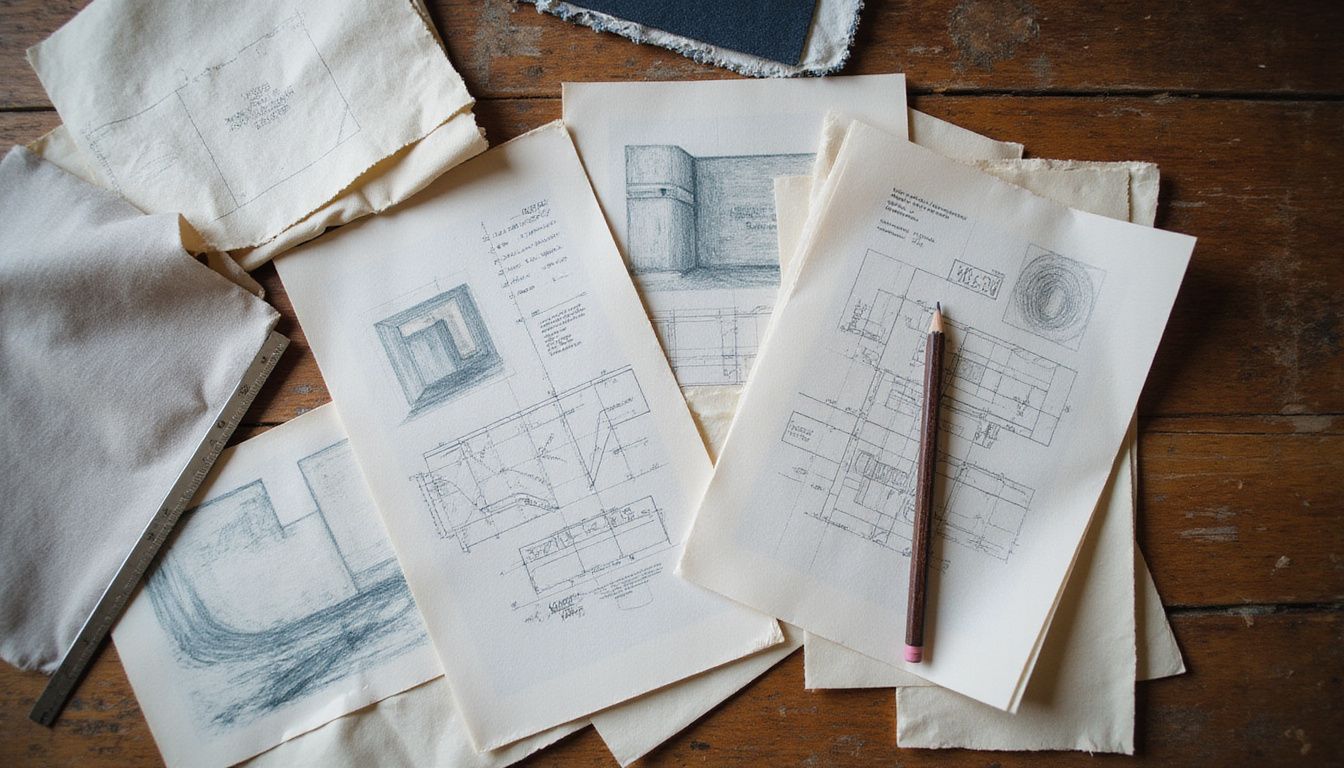
A FAI report needs clear parts to show quality. Key items include design records that display specifications and ballooned drawings, along with raw material documents for verification.
Design Records and Ballooned Drawings
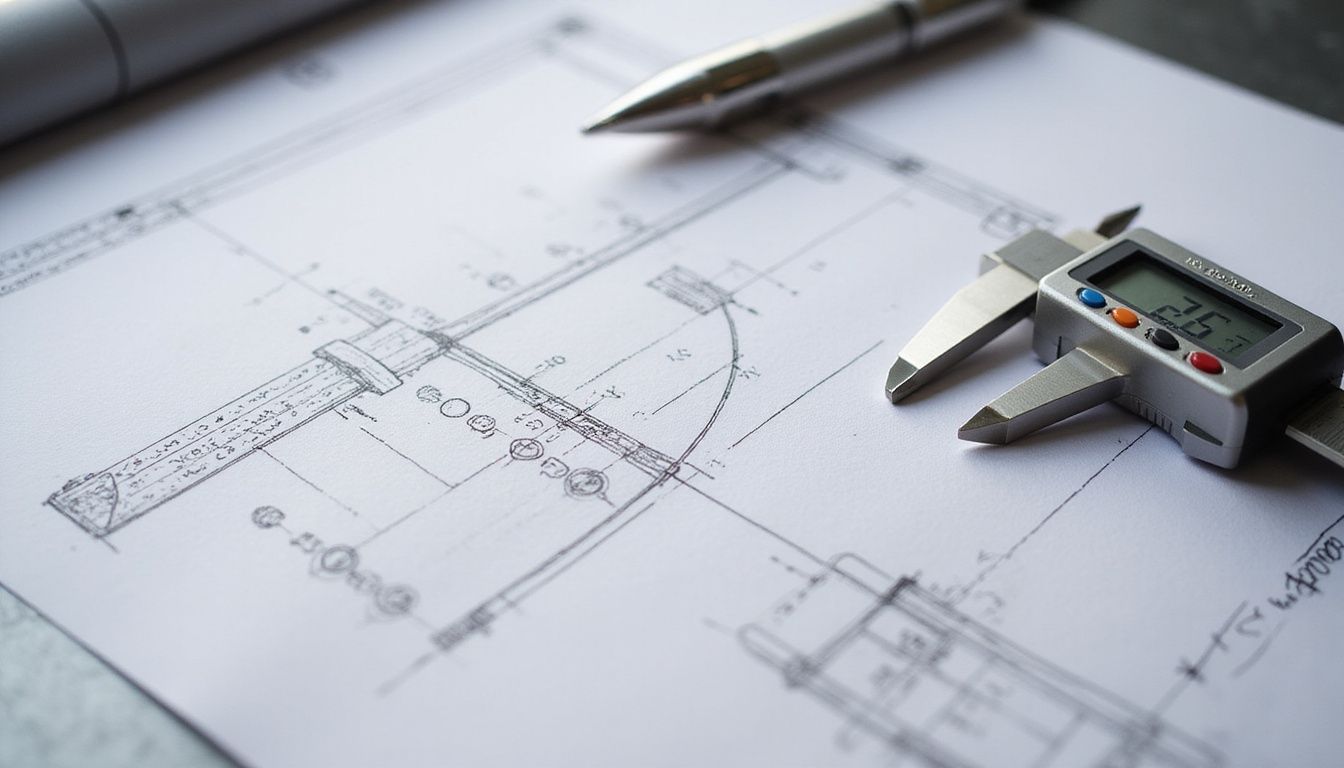
Design records include engineering drawings and bills of materials, which are needed for the production part approval process (PPAP). We must use the latest released drawings to match customer specifications.
These documents form our main reference during verification. All product details, like tolerance or grid locations, should be clear in these design records. AS9100 and AS9102 require us to keep these up-to-date and traceable for compliance.
Ballooned drawings play a key role in first article inspection (FAI) reports. We add bubbles next to each feature on the drawing; each bubble links directly to an item in our inspection plan.
FAI software helps us create ballooned drawings quickly, ensuring every parameter is checked against its measure point using coordinate measuring machines or hand tools. Each measured result must reference a gage ID and calibration due date for traceability.
Using this approach helps meet standards set by both buyers and third-party auditors such as the International Accreditation Forum (IAF).
Each balloon on a drawing ties one design feature directly to our recorded measurement—no detail gets skipped.
Raw Material Records

We always keep a full record of all raw materials, using the inspectionplan as our guide. Each entry shows the mill name, material grade, ASTM number, and heat lot number. We also list the country where each piece comes from and include quantity details as well as form or dimensions.
For example, we save chemical test results and mechanical properties such as hardness or conductivity to support process validation in sectors guided by standards from bodies like the Society of Automotive Engineers (SAE) or IAF.
In every FAI report that follows AS9102 guidelines, we complete Form 2 fields 5 through 9 with vendor codes and specification numbers. Supplied materials come with certificates for both special processes and finishes—these are key documents in any quality management system seeking standardization across suppliers.
We attach these records so anyone can trace parts back to their origins at any point; this supports compliance needs across aerospace or medical manufacturing demands. Our checklists help us ensure no step is overlooked before storing everything for future audits.
Dimensional Results
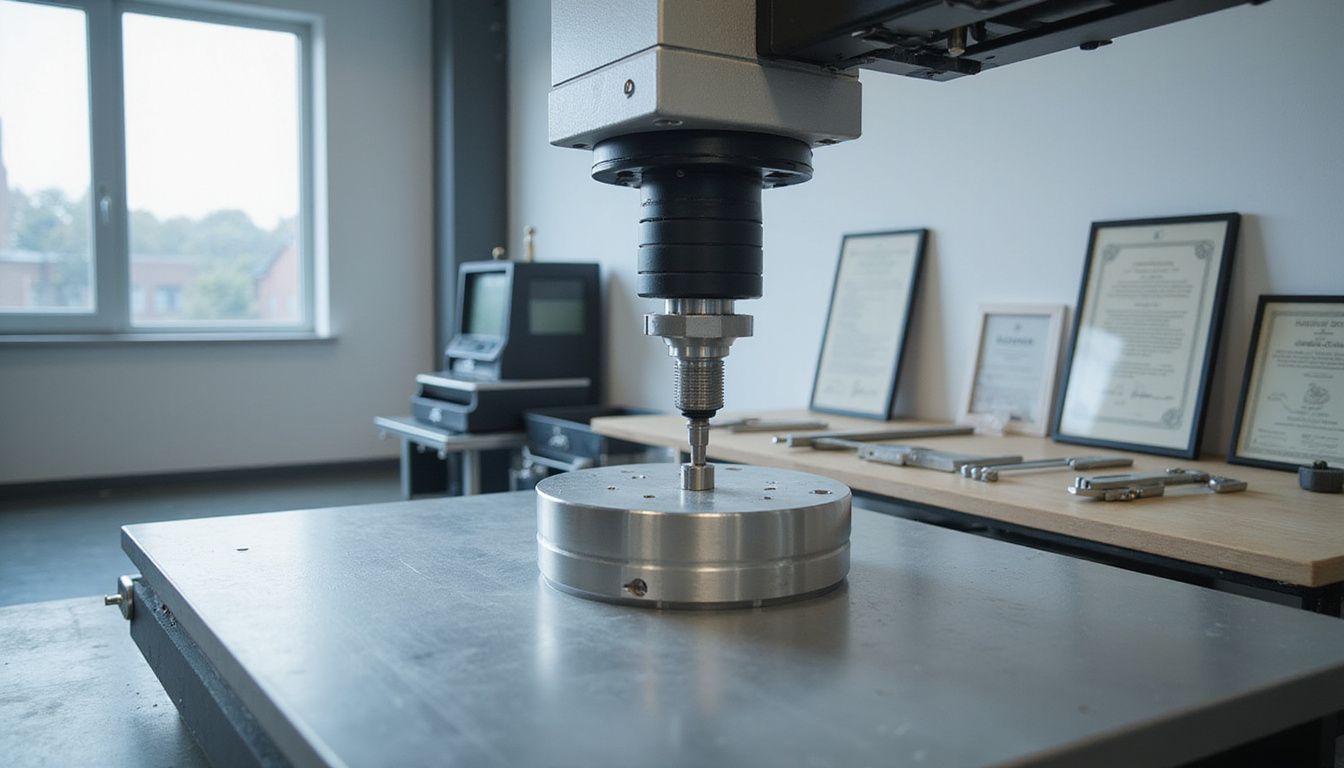
Dimensional results show if each feature matches the engineering drawing. We use pin gages, calipers, micrometers, in-circuit testers, and CMMs for measuring. Each result links to a balloon number on the balloondrawing, making it easy to trace back to the exact spot.
On AS9102 Form 3, we fill in the parameter, requirement, measured value, inspection method, and gage ID. Both attribute specifications, like pass or fail, and variable specifications, such as exact measurements, must be included.
All measurements need to show traceability to the tool used. We check if our CMM or hand tools, like calipers and micrometers, have current calibration certificates, with due dates noted in the report.
Every feature’s size, shape, and location appears, according to the design records. If we find any non-conformance, we record it in Field 11 of Form 3. Using IAF-accredited metrology equipment, we ensure accurate and audit-ready dimensional inspection records.
Steps to Prepare a FAI Report
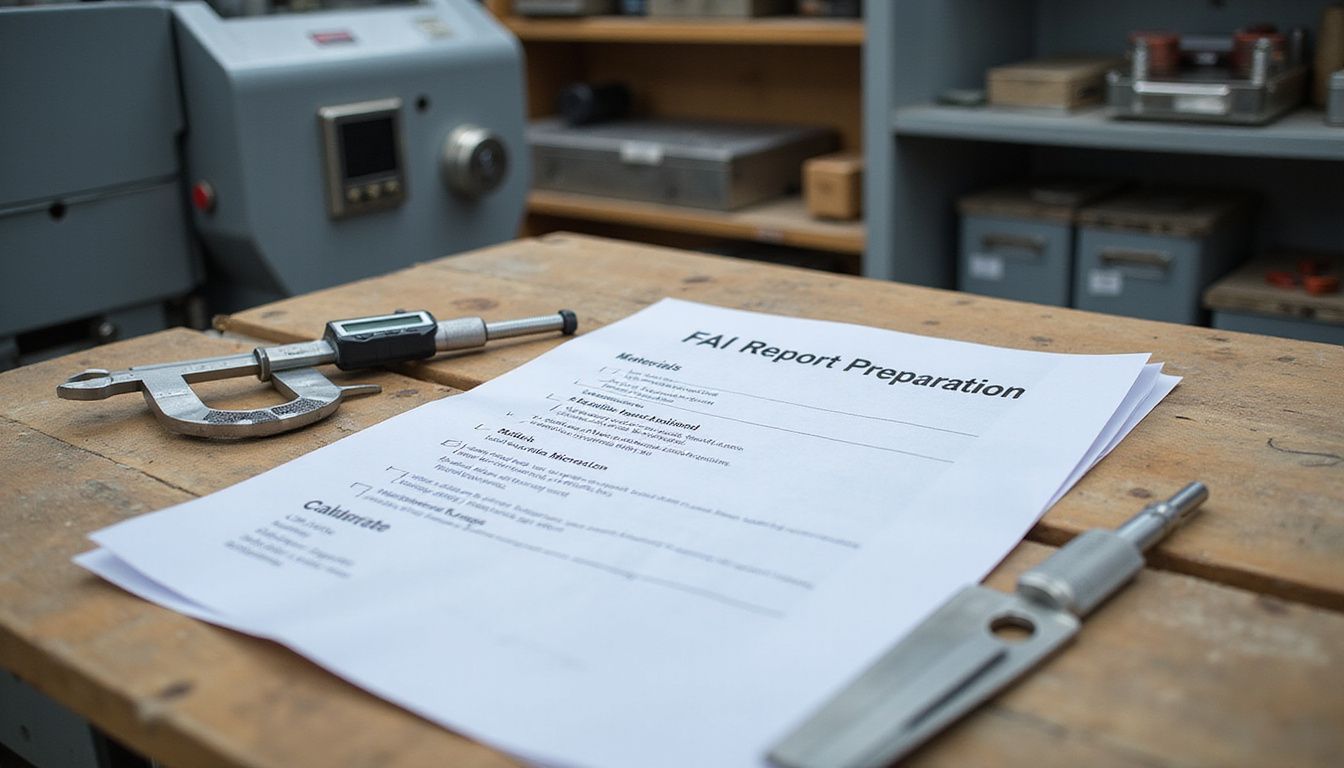
To prepare a FAI report, we must follow clear steps. We should start with a detailed checklist to cover everything needed for the report. This will help us verify raw materials and equipment used in production.
Next, we need to inspect both the assembly process and the final product closely. Each step builds on the last, ensuring accuracy and compliance throughout our work.
Create a detailed checklist
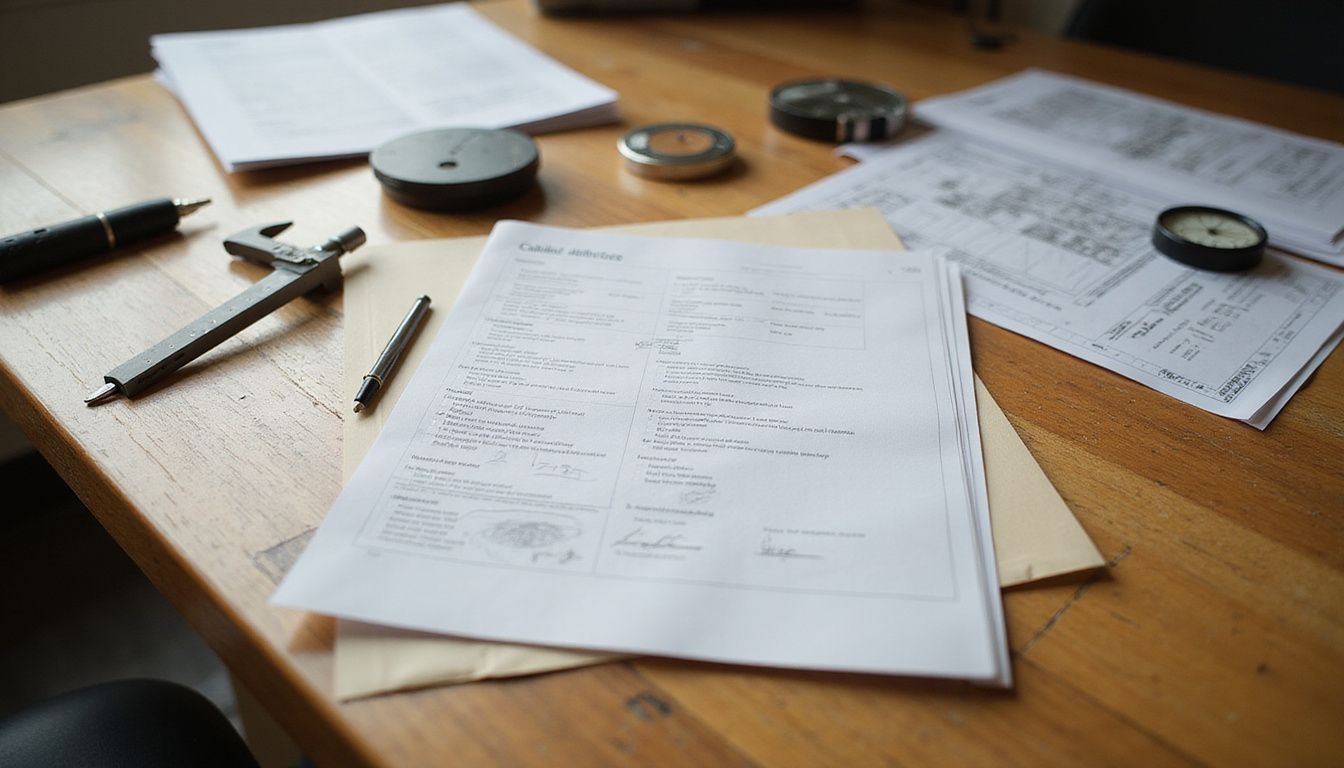
A detailed checklist helps us catch important details in the FAI report. It must cover many areas, starting with accurate drawings and engineering documents. Each item should reference AS9102 forms to ensure compliance.
We need to include tooling capability that meets our specifications. The checklist should also require a review of raw material records, dimensional inspection, and special process certificates.
We cannot forget to confirm customer approval and sign-off as part of this list. Calibration is key too; all measurement equipment used must be calibrated and traceable.
A great checklist keeps us organized and focused.
Verify raw materials and equipment
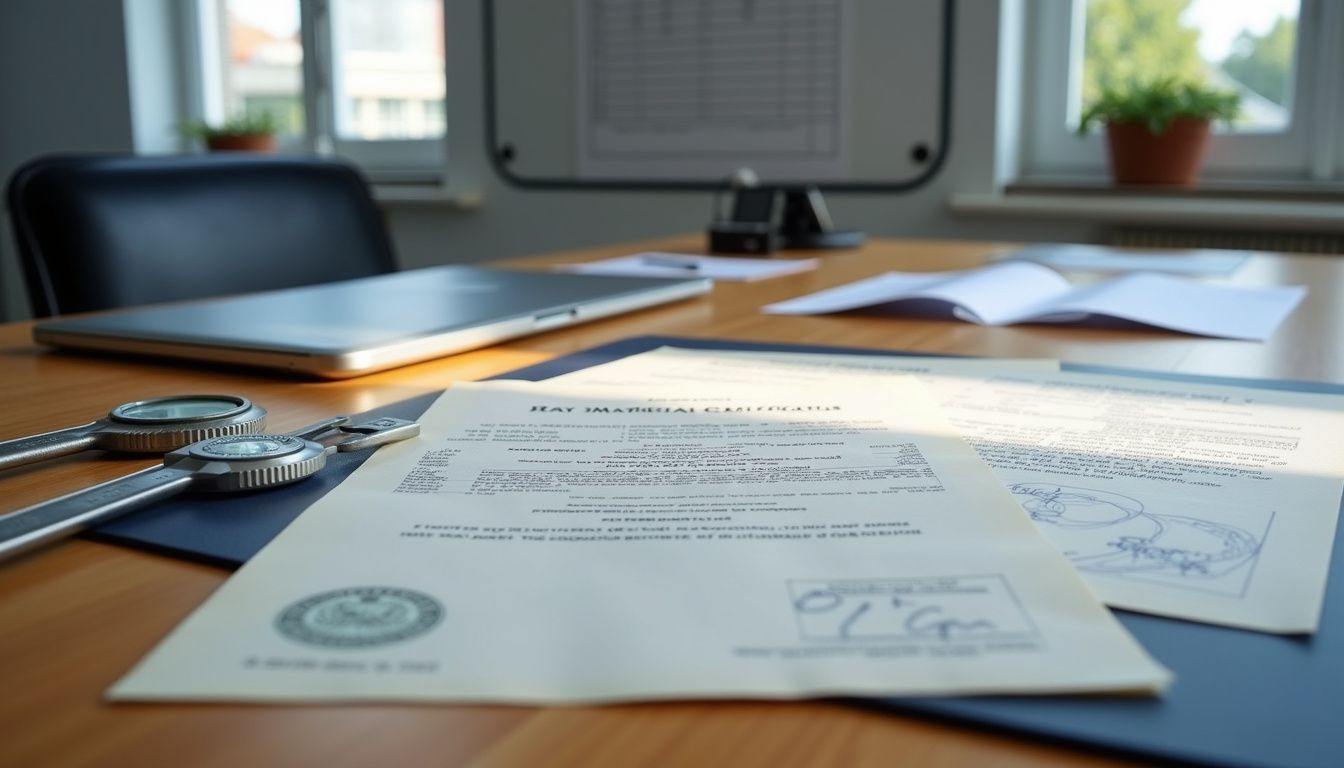
We need to check the raw materials and equipment closely. This step is crucial for our FAI report. Each material must match its mill name, heat lot number, chemical makeup, and mechanical test results.
We collect all material certificates to confirm they meet required standards.
Next, we look at our inspection tools. Equipment like CMMs and calipers must be calibrated properly. We record their calibration dates to keep everything in order. For good accuracy, the gage resolution should be 1/10th of the feature tolerance.
If certain tests go beyond what we can do in-house, we may need third-party labs for certification on properties like hardness or conductivity. Each piece of inspection gear needs clear traceable documentation too; this helps us stay ready for audits while ensuring compliance with IAF guidelines.
Inspect the assembly process and final product

Inspection covers every step of the assembly process. We look at raw materials and check them against specifications. Each component part number, serial number, and FAI number must be documented in Fields 15–18 on AS9102 Form 1.
We conduct functional tests to ensure everything works as intended. Results from these tests are recorded in AS9102 Form 2, Fields 11 and 12. All inspection results must align with the dimensions, tolerances, and design notes shown in our ballooned drawings.
Non-conformances found during inspection must be noted and fixed. This thorough approach helps us confirm that the final product meets all standards for stability and consistency in production.
Tips for Ensuring Audit-Ready FAI Reports

To ensure that our FAI reports are ready for audits, we must follow the AS9102 standards closely. Using FAI software can help us achieve accuracy and speed in our reporting. Regular checks on records, dimensions, and processes play a vital role too.
Emphasizing these areas will improve our chances of passing any audit with ease. For more helpful tips, keep reading!
Follow AS9102 standards

Following AS9102 standards is essential for our FAI reports. This standard is important in aviation and aerospace. It includes specific forms that ensure complete coverage of part, product, and characteristic accountability.
We must use Forms 1, 2, and 3 correctly to meet these requirements.
Each form has required fields we need to fill out correctly. For example, Form 1 requires us to document assemblies in Fields 15-18. Additionally, Form 2 covers raw materials in Fields 5-9.
AS9102 also emphasizes traceability; we link measured characteristics with part numbers and locations on the grid. Compliance means including balloon drawings and detailed measurement records as well as calibration data for each tool used during inspections.
Use FAI software for accuracy and speed
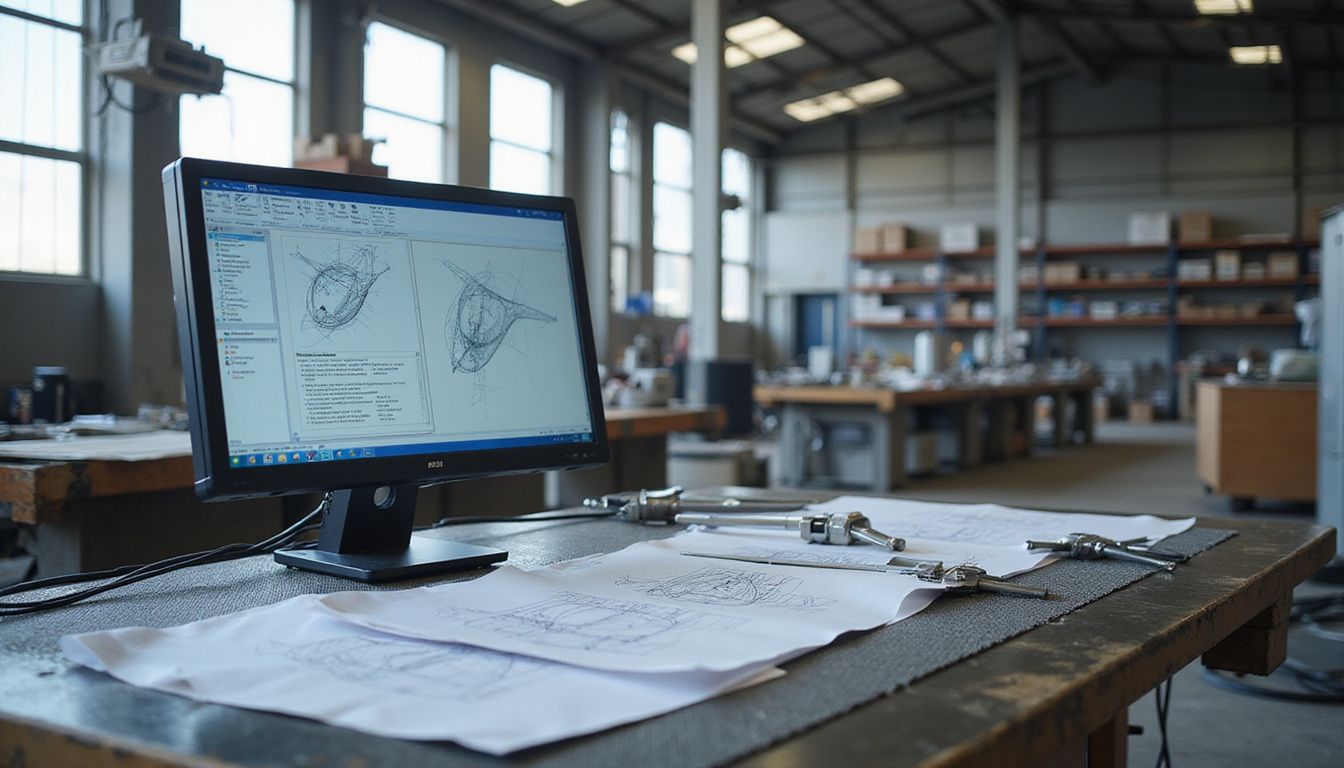
FAI software greatly improves our accuracy and speed. It makes ballooning drawings quick and easy. We can create quality control plans in no time, ensuring we meet AS9102 standards.
This software also helps us gather data from coordinate measuring machines (CMMs).
Using enhanced FAI software saves us many man-hours during the First Article Inspection process. Companies like Bombardier Aerospace use it for tracking their supply chains. With this tool, we can manage documents and certificates of conformity efficiently.
The fast retrieval feature is very helpful, allowing us to keep records for up to 30 years in aerospace-related projects. In addition, less human error occurs with automated systems, Streamlining report generation includes linking measured characteristics to part numbers and inspection locations too.
Conclusion
We can ensure our FAI reports are audit-ready by following key steps. First, we create a detailed checklist and verify all materials and tools. Next, inspecting the assembly process helps us catch any issues early.
We also stay updated with AS9102 standards for accuracy. By using modern FAI software, we enhance speed and precision in record-keeping. With these practices, we build confidence in our processes and meet industry requirements easily.

