Guide to Process Mapping in Lean Manufacturing
Work can get messy. Sometimes, we waste time trying to fix unclear steps or slow spots. It is frustrating when we cannot see where things go wrong. Many of us have tried process mapping to bring some order.
With simple tools like value stream maps, flowcharts, and swimlane diagrams, we can clear up confusion and find where problems hide. These tools help everyone work together better.
When we use process mapping in lean manufacturing, we make our jobs easier and see better results. Keep reading to learn how these tools can help your team, too.
What is Process Mapping in Lean Manufacturing?

Building from our introduction, we see process mapping in Lean Manufacturing as a clear way to show each step in a business process. Using flow-charts and unified modeling language (UML) diagrams, we can draw out every activity, choice point, and handoff between teams.
We use standardized process mapping symbols, like arrows for workflow and diamonds for decisions. These symbols help everyone follow the steps quickly.
Process mapping lets us spot bottlenecks fast. For example, if reviews get missed or materials stack up at one point, it stands out right away on the map. Value stream maps are key tools here; they trace every action from raw material delivery to finished product shipment with an eye toward customer value.
SIPOC diagrams let us list Suppliers, Inputs, actual Process steps, Outputs, and Customers side by side—a real advantage when scoping projects or training new team members.
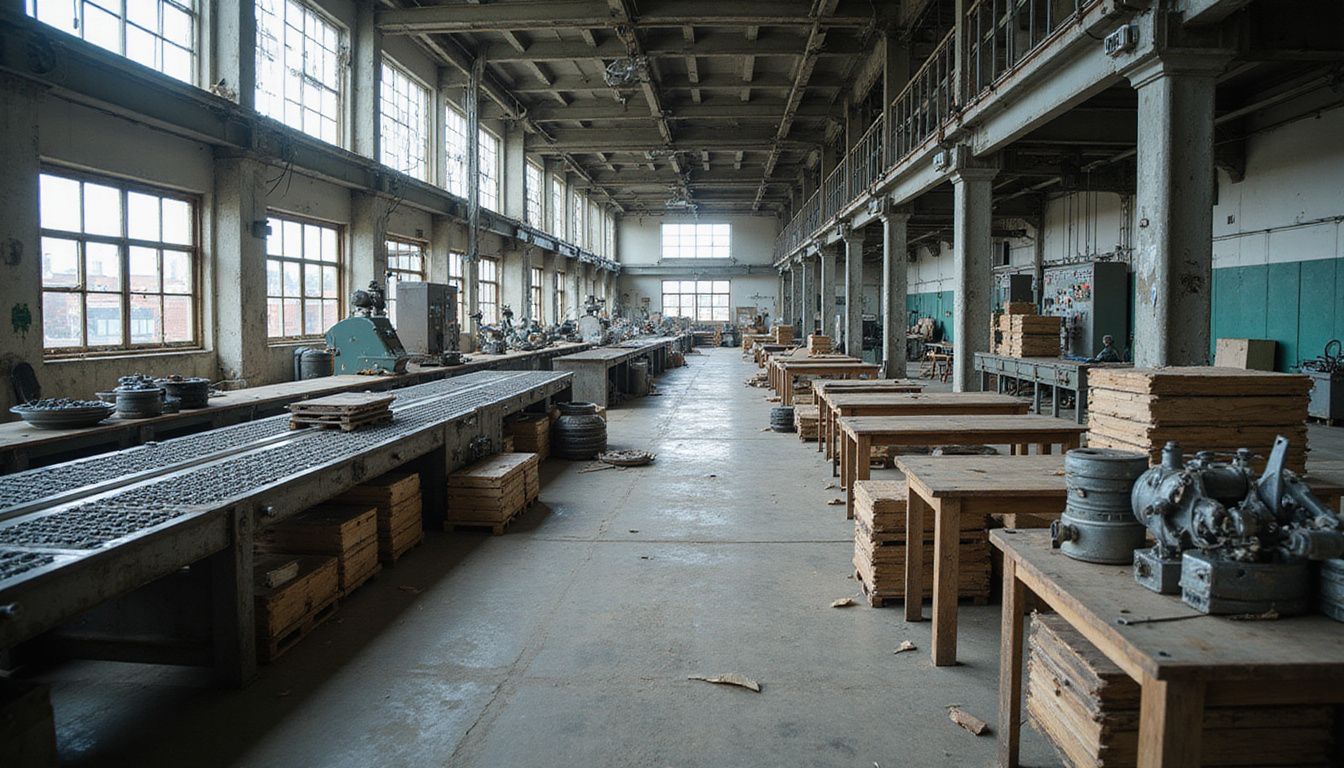
We use these tools during onboarding and to support <a href="https://standardmachining.com/quality-control-in-cnc-machining/" >quality management systems like ISO 9001. In our own CNC machining shop, drawing detailed business process maps made it easy to find wasted motion around storage racks and cut delivery delays by half last year.
Ben S. Graham first used modern flowcharts back in 1947; his work still helps us today with workflow automation and project management. As mechanical engineers, we value any method that makes processes visual, measurable, and ready for improvement.
“A well-drawn process map gives teams a common language for change—turning complex work into simple steps.”
Steps to Create a Process Map

To create a process map, we start by choosing the process we want to analyze. Next, we list all activities and everyone involved in that process; this gives us a clear view of how things work.
Identify the process to map

We start by giving the process a clear and simple name. This step helps set our focus from the beginning. We use business process mapping to clarify what we want to map, such as designing medical equipment or handling reception desk tasks in manufacturing.
Process identification means we define goals, scope, and who is involved.
It is helpful if we mark clear starting and ending points for the process flow diagram or valuestream map. For example, Allan H. Mogensen pushed for this clarity during his industrial engineering work in 1944 with Procter and Gamble's Deliberate Methods Change Program.
Many sectors like aerospace, automotive/EV, finance, supply chain logistics use these steps now because it keeps information clean and keeps us compliant with regulations. Let’s make sure each project stays tied to company values and capabilities so later bottleneckanalysis works well within lean-management tools like BPMN and strategic planning workflows.
List all activities and stakeholders

We know how important it is to get every detail right in lean manufacturing. From our experience, listing all activities and stakeholders makes a big difference. Here's how we do it:
- First, we document every task that needs to be done. This includes everything from the start of making a product to the end.
- We make sure to write down who is responsible for each step. It could be an individual or a team.
- Then, we add all the steps that are done by machines or software. Knowing both manual and automated steps helps us see the full picture.
- We don't forget about meetings and approvals. These are key parts of the process where decisions are made.
- Checks for following rules and laws are also listed. We need to make sure our process meets all requirements.
- Handing off work between teams is another critical point we note down. This ensures smooth transitions and no lost time.
- To keep everyone on the same page, we use a RACI model. It clarifies who is Responsible, Accountable, Consulted, and Informed at each step.
- Talking to everyone involved gives us a complete view. We get insights that we might not have thought of on our own.
- Lastly, listing contacts for each role helps with training new employees. They know exactly whom to reach out to for help.
Following these steps has helped us streamline our workflows and improve communication between team members. Plus, it makes identifying areas for improvement much easier when you can see everything laid out clearly.
Sequence the steps logically

We want to ensure our process maps flow smoothly. Logical sequencing is key to creating an effective map. Here’s how we can do it:
- Start with the first step of the process. This lays the foundation for the entire flow.
- Add each activity in order, showing how one step leads to the next. This helps everyone see how tasks connect.
- Include decision points clearly. These are moments when checks or approvals are needed, and they impact what happens next.
- Reflect the actual sequence of steps, not just how we would like them to be. This creates a true picture of our workflow.
- Accurately show handoffs between teams or systems to avoid confusion and delays.
- Validate the sequence with stakeholders regularly, making sure all input confirms our logic.
- Keep an eye out for information or material flow throughout the process; this adds clarity and purpose to each step.
- Look for any delays or bottlenecks in our sequence, identifying areas for improvement.
Using these steps will help us create a strong process map that reflects our work clearly while highlighting opportunities for increased productivity through Lean Manufacturing practices!
Draw the process flowchart

We create the process flowchart next. First, we pick a format that fits our needs. Common formats are basic flowcharts, swimlane diagrams, and value stream maps. We must use standard symbols for clarity.
OVAL shapes mark the start or end points; RECTANGLES show steps; DIAMONDS represent decisions; PARALLELOGRAMS indicate inputs or outputs.
As we draw, we clearly show the direction with arrows between steps. Each step should be easy to understand. If there are subprocesses, we'll draw them as rectangles with double vertical lines.
This makes it clear they are predefined processes that connect back to our main chart. Once complete, our diagram can be shared digitally for team review and feedback before moving on to validate our map with everyone involved in the process.
Validate with the team

Once we draw the process flowchart, it is time to validate it with the team. We review the map together. This step ensures we capture everything accurately. Team members bring different insights.
They might spot missing or unclear steps in our work.
We encourage feedback from everyone involved. This helps us understand if the map reflects the real workflow. Based on their input, we modify and update our process map as needed. Working collaboratively builds a sense of ownership for all team members.
It also paves the way for better decision-making down the line and keeps us aligned with best practices in lean manufacturing methods like six sigma methodology and agile project management.
Regular reviews help maintain its relevance over time too, ensuring that it fits our changing business processes effectively.
Identify inefficiencies and improve

After we validate the process map with our team, we can start to identify inefficiencies. We analyze the map for bottlenecks, redundant steps, and delays. It helps us see which parts slow us down and waste time.
Improving these areas is key to Lean Manufacturing. By removing unnecessary steps or merging tasks, we enhance our workflow. Using value stream maps lets us capture important metrics like cycle time and sources of waste.
We develop new methods based on what we find during this analysis. Continuous review keeps our system efficient and responsive to change, leading to better quality control and shorter delivery times.
Types of Process Maps in Lean Manufacturing

In Lean Manufacturing, we use different types of process maps to understand our workflows better. Value Stream Maps highlight the flow of materials and information. Swimlane Diagrams show roles and responsibilities in a clear way.
SIPOC Diagrams break down processes into Suppliers, Inputs, Processes, Outputs, and Customers. Each type helps us see where we can improve. Explore these options further to find what fits your needs best!
Value Stream Maps

Value stream maps show all the steps from raw material or idea to customer delivery. They help us see where we add value for customers. We use special symbols to illustrate how information and materials flow through the process.
These maps capture important data, like cycle time and the number of people involved. They also identify waste or delays in our systems.
These maps are key tools for finding bottlenecks in Lean Manufacturing. They offer a complete view of both manufacturing and service delivery processes. By visualizing our workflow, we can spot opportunities for improvement easily.
Value stream mapping supports our ongoing efforts for better efficiency and quality control, boosting our performance as a team.
Swimlane Diagrams

Swimlane diagrams help us organize process steps by the teams or people in charge of each task. These diagrams show who is responsible for what, making it clear where handoffs and transitions happen across departments.
We can see how different parts work together and identify any delays caused by unclear roles or miscommunication.
These maps are useful during onboarding and when we need to clarify workflows. They support the RACI model by clearly assigning roles at each step of a process. By using swimlane diagrams, we improve our cross-functional workflows and make our processes more efficient.
SIPOC Diagrams

Next, we look at SIPOC diagrams. SIPOC stands for Suppliers, Inputs, Process, Outputs, and Customers. This tool helps us see the big picture quickly. It is structured as a table with five columns.
Each column describes a key part of our process.
SIPOC diagrams give us clarity when mapping complex workflows. They help define the scope early in our projects. By using this diagram, we can align expectations among team members and stakeholders.
It shows what goes into a process, what happens during it, and what comes out at the end. These diagrams are useful not just for new team members but also for all of us working on continuous improvement in Lean Manufacturing.
Benefits of Process Mapping in Lean Manufacturing

Process mapping brings many advantages to lean manufacturing. It helps us see workflows clearly, making it easier for teams to work together and make smart choices. By using tools like flow charts and value stream maps, we can spot problems quickly.
This leads to better solutions and smoother operations in our projects.
Streamlined workflows

Streamlined workflows boost efficiency in our manufacturing processes. They help us cut down on waste and reduce cycle times. By mapping out each step, we can find unnecessary tasks to eliminate or combine.
This process optimization allows us to respond quickly to customer needs and market changes.
Improved workflows also save money by getting rid of duplicate work. With clear flowcharts, like value stream maps or swimlane diagrams, we visualize everything better. This leads to faster production scaling and supports standardization for consistent outcomes.
Next, let's explore the different types of process maps used in lean manufacturing.
Improved communication and collaboration

Visual process maps provide us clear views of workflows. This clarity helps all team members understand their roles better, reducing miscommunication. The mapping process allows everyone to share ideas and input, which increases buy-in from all stakeholders.
Using tools like swimlane diagrams or RACI models clarifies who's responsible for each task, minimizing confusion.
Effective communication supports training new employees too. Maps serve as a shared reference point for our cross-functional teams. Improved collaboration leads to faster problem-solving cycles.
We can address recurring workflow issues more easily, such as missed reviews or handoff delays, which strengthens our processes in lean manufacturing.
Enhanced decision-making

Improved communication and collaboration leads to enhanced decision-making. Process mapping provides a clear view of our workflows. We can see cycle times, the number of people involved, and other key metrics.
This data helps us make informed choices.
With detailed process maps, we can pinpoint where improvements are needed. They show us compliance points and approval stages too; this is vital for meeting regulations. By focusing on these areas, we speed up changes in processes and adopt new ideas more quickly.
Enhanced decision-making supports better project planning as well; it reduces risks down the line while keeping everything aligned with best practices like standard work or business process models.
Conclusion

Process mapping is essential in lean manufacturing. It helps us visualize our workflow clearly. We can identify problems and find ways to improve. Using tools like value stream maps and flowcharts, we streamline processes effectively.
This increases productivity and fosters teamwork. Together, we can achieve better results for our projects and enhance efficiency in everything we do.

Recent Posts

LET’S START WORK
TOGETHER
Please feel free to contact us. We will get back to you with 1-2 business days. Or just call us now.