Guide to Tolerance Stack-Up Analysis for Precision Parts
Have you ever wondered why some parts just won’t fit, even when you follow the drawings closely? It can be really frustrating to deal with these problems. Many of us have faced tolerance stack-up issues before.
In fact, over 70% of mechanical part errors come from mistakes in how we calculate tolerances. This guide gives you simple steps for using tolerance stack-up, so you can control assembly variation and make your precision parts more accurate.
Keep reading to learn how fixing tolerance stack-up can make a real difference.
What is Tolerance Stack-Up Analysis?

Tolerance stack-up analysis helps us see the overall effect of many small part tolerances in an assembly. We add up the geometric tolerances for each step or feature. This gives us a clear view of how far off parts may be from a perfect fit, using real numbers instead of guesses.
For example, if we drill several pin holes in a plate, each one meets its own limit on size and position, yet they all together might cause problems with assembly due to total deviation.
Using this approach helps us compare the sum of these variances against our needed gaps or limits.
We use tolerance stacking to confirm manufacturing feasibility and spot trouble before it reaches production. Commonly called “worst-case analysis,” this method checks what happens if every dimension hits its max or min at once.
In some cases, statistical techniques like Root Sum-Squared (RSS) help analyze likelihoods by looking at standard deviations and normal distribution patterns. With CAD models and inspection data, we judge 1D lines as well as complex 2D and 3D geometry from engineering drawings right inside digital tools like SolidWorks or CATIA.
“Stacking individual errors can break an assembly — even when every part looks good alone.”
Understanding why these variations matter allows us to assess their full impact on precision CNC components in demanding environments.
https://www.youtube.com/watch?v=Cn5Z2ZYlA_w
Importance of Tolerance Stack-Up for Precision Parts

Precision parts need careful control over tolerance stackups. Small mistakes add up fast, causing assemblyvariation in complex products like CNC-machined aerospace, medical, or automotive pieces.
In our shop, we have seen that using geometric dimensioning and tolerancing (gd&t) makes a big difference in accuracy. Tolerance stackup analysis helps us find out how parts will fit together before making them.
This stops problems such as clearance issues or the production of scrapped components due to cumulative tolerance failures.
Setting tight tolerances raises costs and makes manufacturing harder, but loose limits can hurt product quality or function. We use tools like CADmodels for clear drawings and software for statistical analysis to balance these needs.
Statistical methods, including Root Sum-Squared calculations and monte-carlo simulation techniques, help us predict assembly outcomes with normal distributed variations and sigma values.
These methodologies let us keep key part characteristics (KPCs) within customer specs at good prices while meeting stress analysis targets as required by standards like ASME Y14.41.
Next comes a closer look at the main ways to do tolerance stack-up analysis using proven methods such as Worst Case Tolerance Analysis and other statisitical method approaches.
Methods of Tolerance Stack-Up Analysis
We use different methods for tolerance stack-up analysis. Two common approaches are Worst Case Tolerance Analysis and Statistical Tolerance Analysis using Root Sum-Squared. Each method helps us understand how parts fit together, ensuring precision in our designs.
Want to learn more about these techniques? Keep reading!
Worst Case Tolerance Analysis

Worst case tolerance analysis gives us confidence that our assembly will work even if each part is at its extreme limit. This method looks at every part’s highest and lowest limit, then checks if the stack-up still fits.
We use this mostly for 1D tolerance stacks, like when parts line up in a straight line. If we have only a few parts, usually three or four, this approach works best. It is very important in fields like aviation and medical devices, where even a small failure can cause big problems.
For example, if element A is 8 ±4, B is 5 ±2, C is 5 ±2, and D is 5 ±2, the stack becomes X = 23 ±10. Using this method, we keep the risk low, but we also make the tolerances tighter, which can raise costs.
"Every part matters when critical safety is on the line."
We have used geometric dimensioning and tolerancing (GD&T) and arithmetic stack-ups during in-house checks. This approach makes sure no extreme values slip through. For low-volume, high-criticality jobs, like making latches for aerospace, we rely on worst case analysis.
For higher volume, or if we want to lower production costs, we may need to look at other analysis methods, such as statistical tolerance analysis.
Statistical Tolerance Analysis (Root Sum-Squared)

The transition from Worst Case Tolerance Analysis to Statistical Tolerance Analysis is essential. The Root-Sum-Squared (RSS) method plays a key role in our analysis for precision parts.
This technique helps us understand how variations combine during assembly. We can assess the uncertainty of multiple dimensions at once.
Statistical analysis uses normal distributions and standard deviations to reflect real-world manufacturing. For example, if we have an overall stack of X=23 with a tolerance calculated using RSS as 5.29, we know the acceptable range is 23 ± 5.29.
By comparing assembly standard deviations to limits, we derive quality metrics like sigma and defects per million units (DPMU). These insights help ensure consistent part quality in mass production environments, even when tolerances are relaxed without compromising performance.
Key Considerations for Effective Tolerance Stack-Up Analysis

Effective tolerance stack-up analysis needs careful management of manufacturing challenges. We must focus on part quality after production. It's crucial to work with precise measurements and clear guidelines.
Understanding how angles affect the final product can make a big difference too. Using statistical controls helps detect issues early in the process. By paying close attention to these factors, we ensure our parts meet high standards.
Curious about how to implement this? Read more for detailed insights!
Managing Manufacturing Challenges
Manufacturing challenges can make our jobs harder. Tighter tolerances increase production difficulties and costs. Wide tolerances are easier to work with and more economical. Over-dimensioning adds confusion during both manufacturing and engineering documentation.
We need to focus only on critical features when setting tolerances.
To ensure part quality, we should use variation analysis. This helps us allocate tolerance budgets wisely between critical and non-critical features. Clean, clear engineering drawings also play a key role in communicating design intent effectively.
By maintaining good practices, we can avoid overly tight tolerances that go beyond functional needs, which will keep manufacturability intact.
Ensuring Post-Manufacturing Part Quality
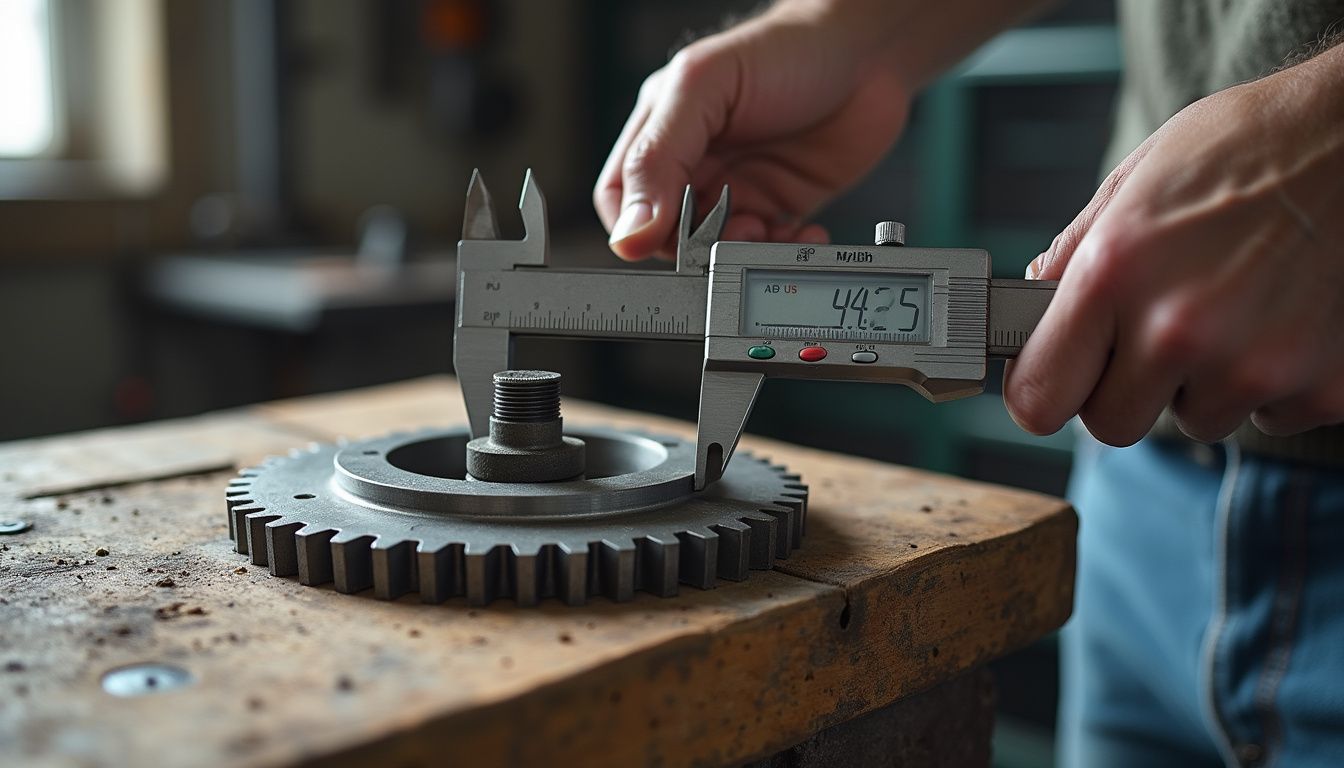
Post-manufacturing part quality is crucial. We need to think about how our parts will perform over time. Wear and tear can change their shape or size, affecting how they fit together.
Defining tolerances with this in mind helps us build parts that last longer and work better.
By considering these changes early, we can avoid problems later. Setting the right tolerances based on service needs helps prevent failures during use. Statistical methods provide ongoing metrics, like sigma and DPMU, to track quality after production.
This way, we stay ahead of issues that could lead to costly warranty claims or field failures. Maintaining high-quality standards is essential, especially in critical areas like aerospace and medical devices where reliability matters most.
Tools for Tolerance Stack-Up Analysis

Tools for Tolerance Stack-Up Analysis help us assess precision parts efficiently. Software solutions make it easier to analyze various scenarios. Programs can automate calculations, reducing errors and saving time.
These tools allow us to use Monte Carlo simulations and statistical methods for better results. With the right software, we can improve our designs quickly. Curious about which tools fit your needs? Read on to learn more!
Software Solutions for Automation

Automation software simplifies tolerance stack-up analysis. Tools like Sigmetrix's CETOL 6 v11.4.0 provide advanced features and work with major CAD systems. This helps us conduct accurate stack-ups quickly, ensuring we meet design needs.
DCS’s 3DCS software also offers useful resources and webinars for deeper learning. These automated solutions reduce errors in our calculations, speeding up the validation process.
By using CAD-integrated tools, we can analyze directly within the design environment, boosting our efficiency and project timelines significantly.
Best Practices for Tolerance Stack-Up Analysis

Best practices for tolerance stack-up analysis keep projects on track. Clean drawings are key; they reduce errors and make communication easier. We also need to optimize designs, balancing cost with quality.
Using tools like software solutions helps streamline the process too. These steps help us create more precise parts that meet our goals.
Maintaining Clean and Accurate Drawings

We must keep our engineering drawings clear and precise. Clean drawings help both the design team and production team communicate well. We should assign tolerances only to critical features.
Over-dimensioning can confuse everyone involved in manufacturing, leading to mistakes or delays.
Drawings need to follow GD&T standards to show geometric requirements clearly. This practice reduces excessive detail that affects manufacturability and raises costs. Focusing on concise documentation ensures accurate interpretation by the manufacturing team, which is key for part quality after production.
Optimizing Design for Cost and Quality
Optimizing design for cost and quality is key in our work. Tight tolerances can raise complexity and price. We focus on critical features to keep costs low while ensuring high quality.
Our production goals aim for a Cpk of 1.67 for important parts and Cp of 1.33 for less critical ones.
By conducting realistic tolerance stack-up analysis, we avoid overly strict measures that can inflate production costs. Statistical analysis allows us to relax tolerances without losing assembly quality, which supports mass production effectively.
A smart design helps us manage manufacturing challenges and improve long-term product performance, reducing the risk of scrapped parts or warranty claims.
Conclusion
Tolerance stack-up analysis is vital for making precision parts. It helps us ensure that all parts fit together well and meet performance needs. By using methods like worst-case tolerance analysis and statistical analysis, we can better understand how tolerances add up.
We must keep our designs clear and accurate to avoid issues during manufacturing. This guide will help us improve our processes, reduce costs, and enhance quality in our projects. Let's apply these insights for better outcomes in mechanical design work!


